Creating a Template
- Navigate to the Setup tab in the top right corner.
- Select Monitoring in the left panel.
- Click Templates under Monitoring.
- Click Add to create a new template.
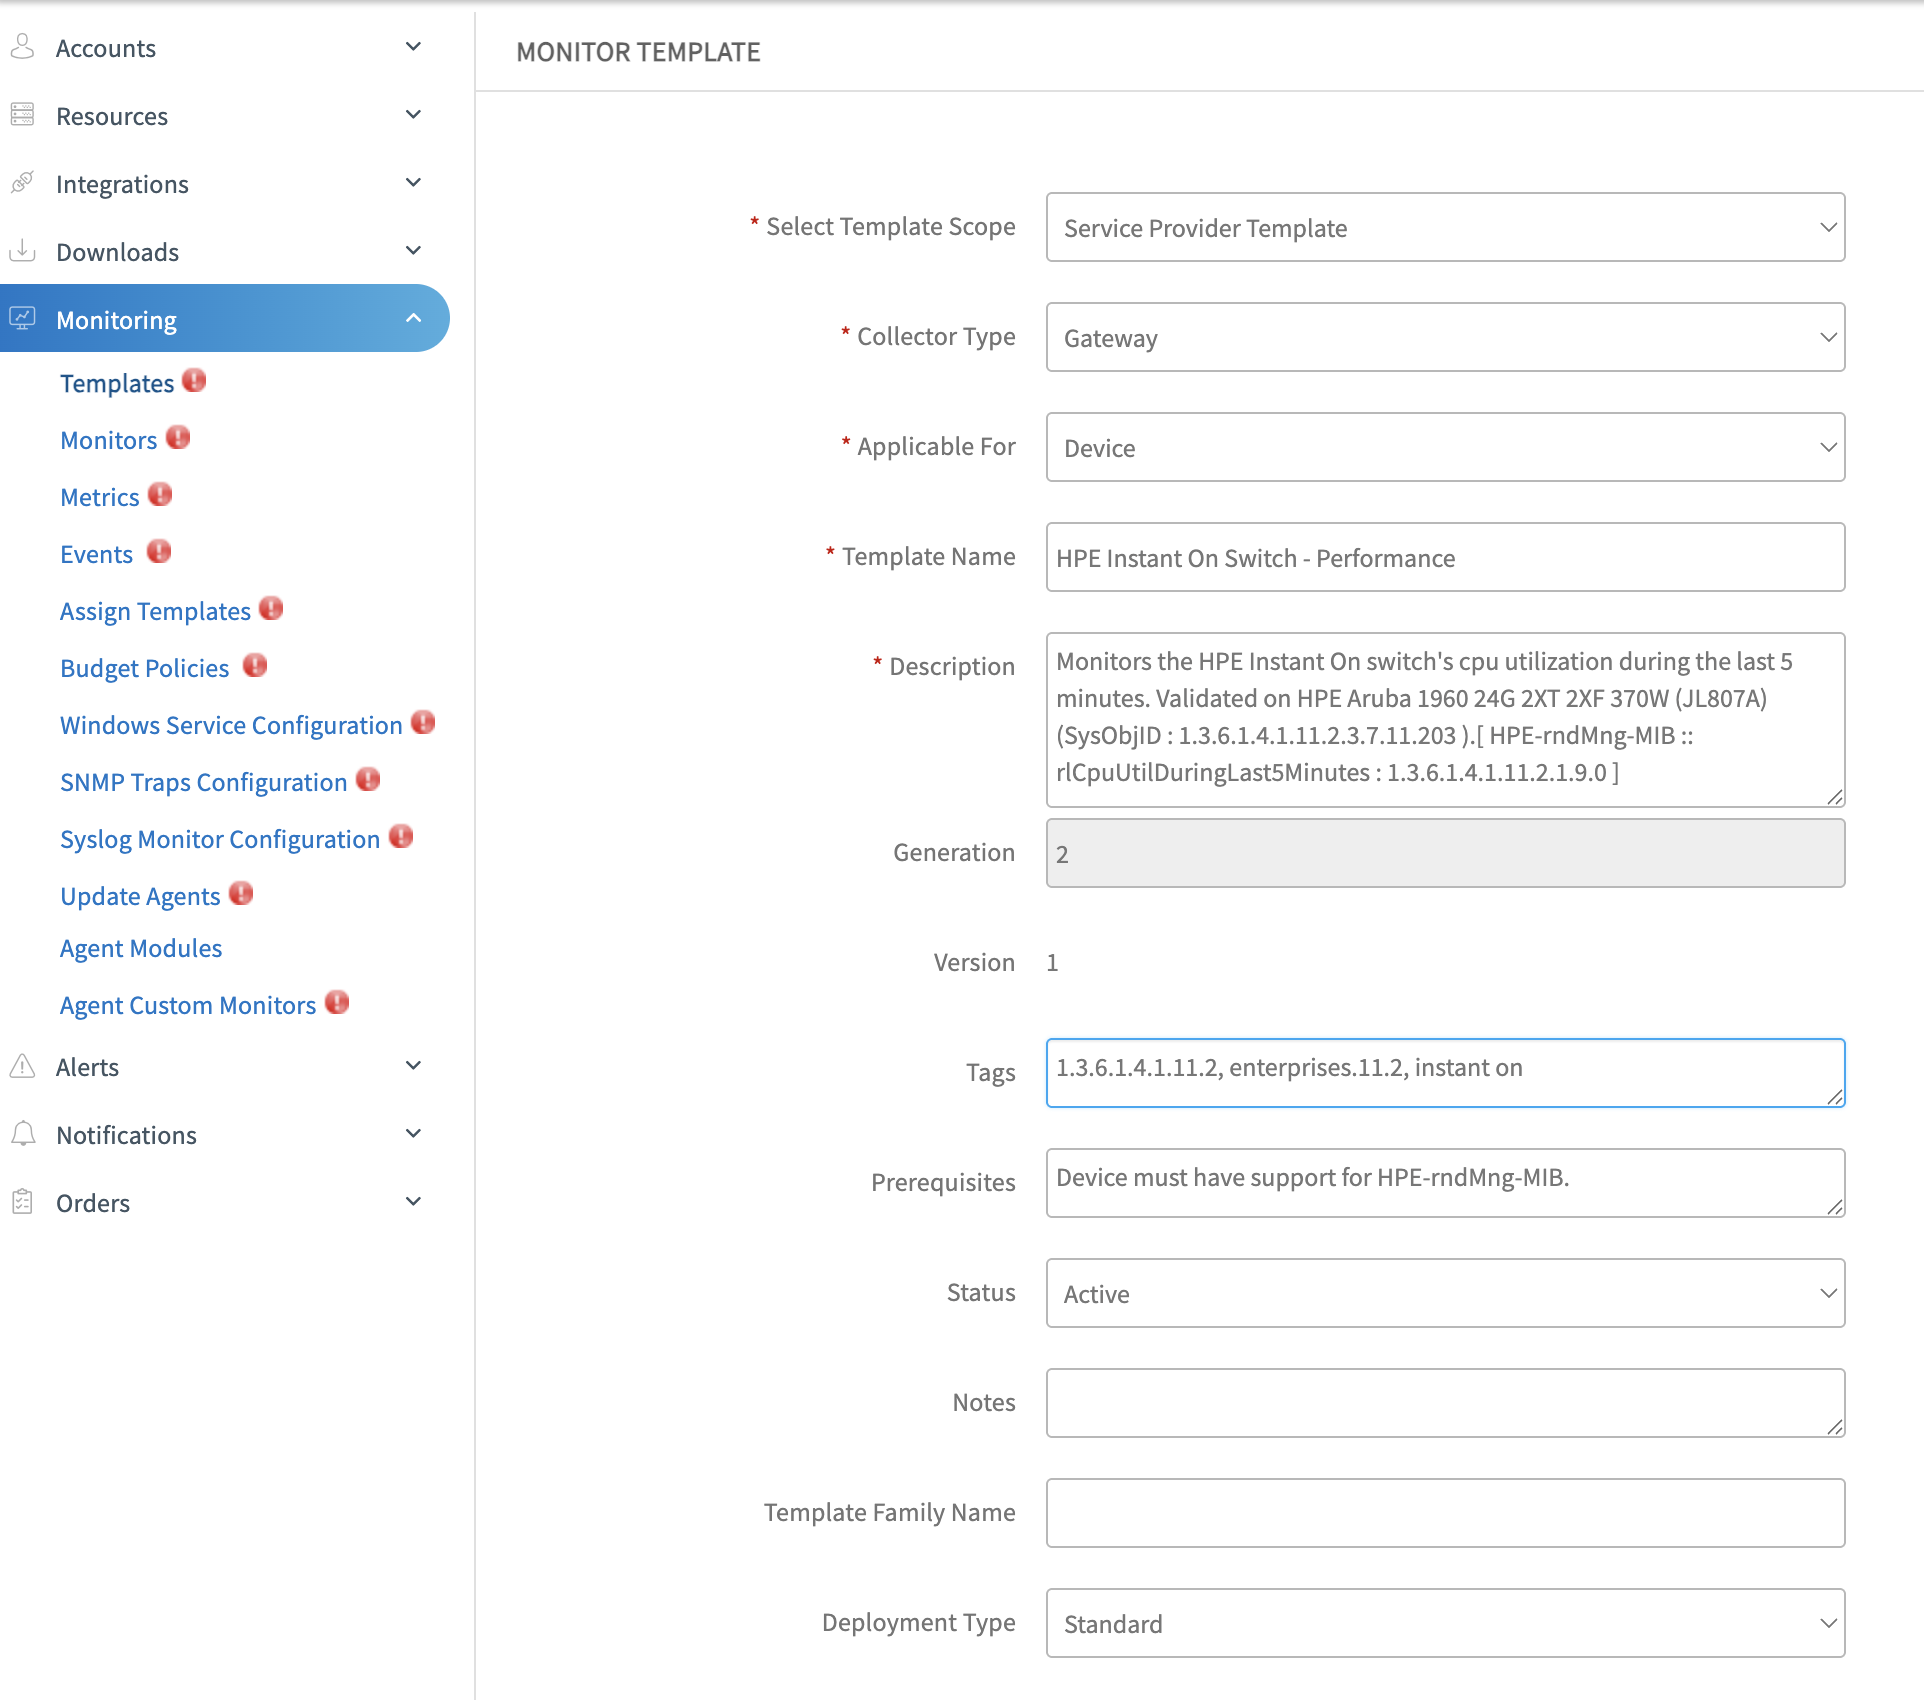
- Configure the template details on the Template Creation page.
Template configuration
Enter the following fields to configure the template.
| Field Name | Description | Field Type |
|---|---|---|
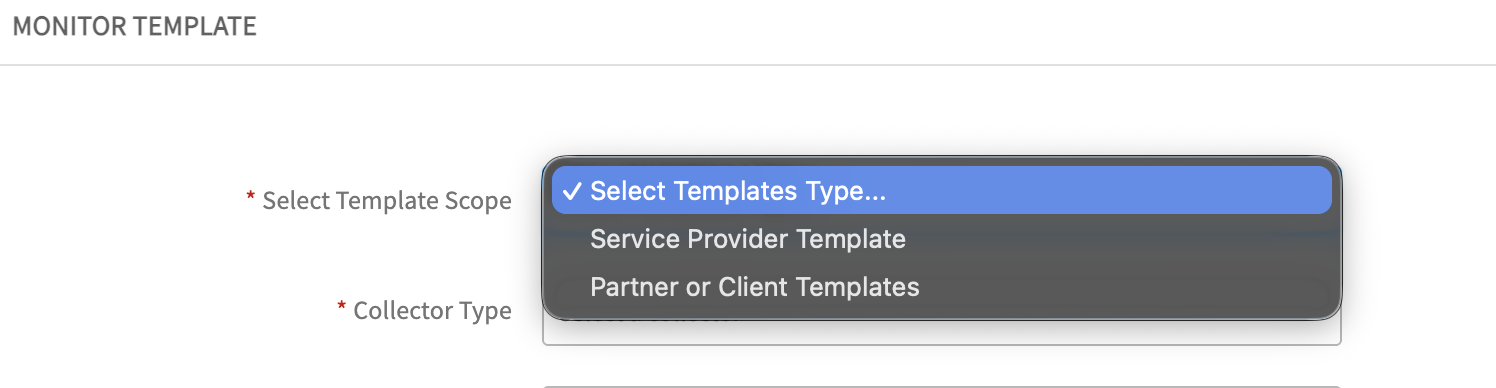
| Template Scope | Select the scope from the following options:
| Dropdown |
| Collector Type | Select Gateway as the Collector Type. | Dropdown |
| Applicable For | Select Device. | Dropdown |
| Template Name | Provide a unique name using this format: General: <Vendor> <Device Type/Model/OS> - <Use Case>Examples:HPE Instant On Switch - HardwareCisco Nexus Switch - PerformancePartner/Client-specific: <Partner/Client Name> - <Vendor> <Device Type/Model/OS> - <Use Case>Example: ABCD - Cisco Nexus Switch - PerformanceNote: Use the Partner/Client-specific format only for Partner or Client Templates. | String |
| Description | Provide a detailed description of the template. | String | Generation | Default value is "2". | String | Version | Default value is "1". | String |
| Tags | Provide relevant tags related to the template. Default value is "2". | String |
| Prerequisites | Add the prerequisites required for this template. | String |
| Status | Set the status of the template (Active or Inactive). | Dropdown |
| Notes | Add any additional notes or comments about the template. | String |
| Template Family Name | Specify the family name for grouping related templates. | String |
| Deployment Type | Select the deployment type for the template (e.g., On-Premise, Cloud, Hybrid). | Dropdown |
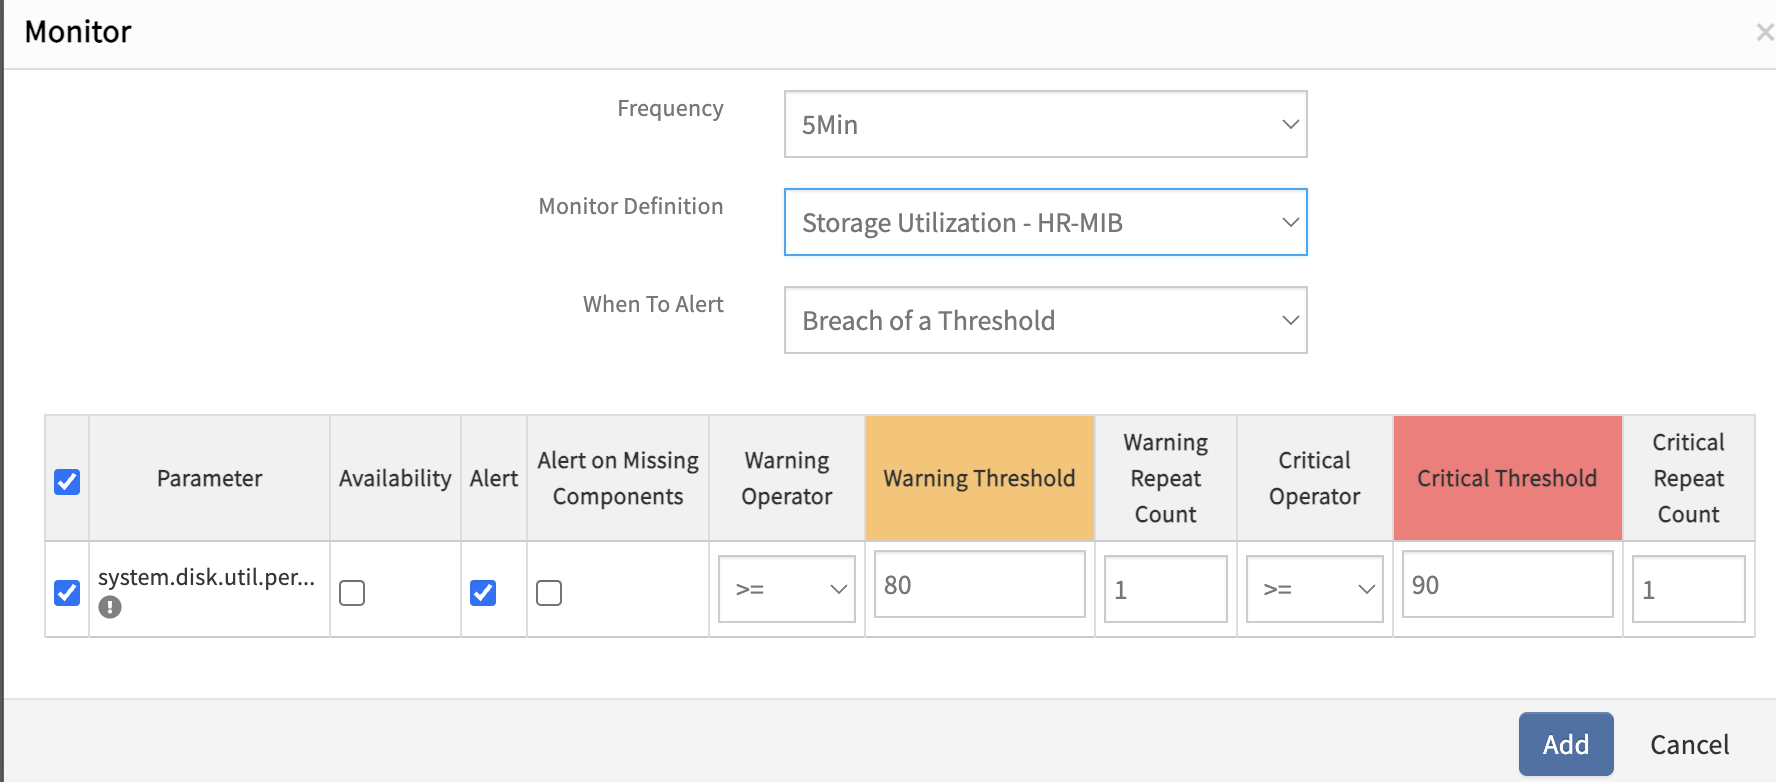
Adding Monitors to templates
After configuring the template details, add monitors to the template:
- Click +Add in the Monitors section.
- Select the polling frequency (for example, 1 min, 2 min, 5 min).
- Select the monitor to add to the template.
- Choose the required definition.
- Configure the alert condition as needed.
- Click +Add to add the monitor to the template.
Note
Add multiple monitors to a template by repeating steps 1-6. Multiple Monitors can be added within a single template.Applying changes to existing monitors
Changes to monitors only reflect on assigned templates if the template checkbox is selected during assignment. When selected, you will see the following option:
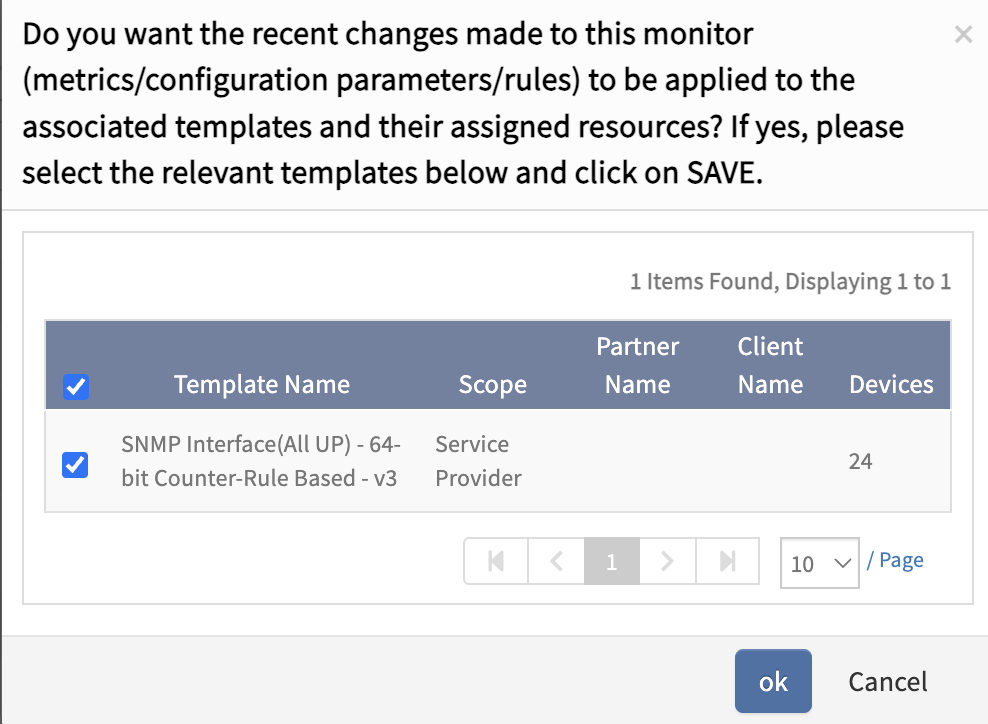
To apply the changes to your templates and resources, follow these steps:
- Select the checkbox for the templates where you want the changes to be applied.
- Click OK to save the changes.
The changes will now be reflected in the selected templates and their assigned resources.
×![]()